

Term 3 STEM Projects and Classroom Electronics for Schools
July 13, 2026
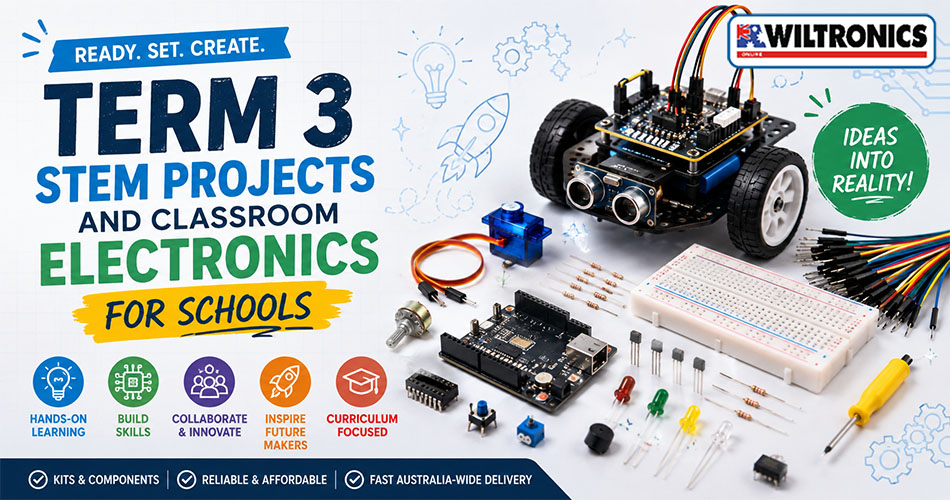
Term 3 STEM Project Ideas for Australian Schools
Term 3 is an ideal time to bring practical learning back into the classroom with electronics, coding, robotics and engineering projects.
For schools, Term 3 provides enough time for students to move beyond short introductory activities and complete more substantial STEM projects involving planning, construction, testing and evaluation.
Hands-on projects help students connect classroom theory with real outcomes. A circuit can light an LED, a sensor can respond to environmental conditions and a programmed robot can navigate a course.
Wiltronics supplies Australian schools with a wide range of STEM, Make & Create products for science rooms, technology departments, electronics classes and makerspaces.
Schools that completed a mid-year stocktake using our Term 2 STEM and electronics restock guide can now use those classroom essentials to create engaging Term 3 learning activities.
Choosing the right Term 3 STEM project
The best project platform will depend on student experience, lesson time, classroom resources and curriculum goals.
| Project pathway | Best suited to | Skills developed | Suggested starting point |
|---|---|---|---|
| Breadboard circuits | Beginners and introductory electronics | Circuit building, polarity, resistance and troubleshooting | LED indicator circuit |
| Arduino projects | Intermediate coding and electronics | Programming, sensors, inputs and outputs | Classroom condition monitor |
| BBC micro projects | Introductory physical computing | Coding, creativity and user-centred design | Timer or environmental monitor |
| Robotics projects | Team-based STEM challenges | Automation, movement and iterative design | Robot navigation course |
| Electronic kit projects | Supervised technology and electronics classes | Assembly, soldering and fault-finding | Light or sound-activated device |
Schools do not need to introduce every pathway during the same term. Selecting one platform and gradually increasing the project difficulty can make classroom management, equipment preparation and student assessment more straightforward.
1. Reintroduce electronics with breadboard circuits
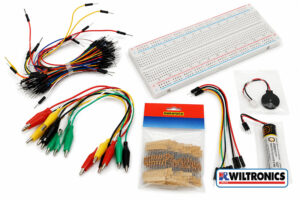
Breadboard projects provide an accessible way to revise essential electronics concepts at the beginning of Term 3.
Students can investigate current, voltage, resistance, polarity and circuit diagrams without permanently soldering components. They can quickly change connections, test ideas and locate faults.
A simple LED circuit can progress into a classroom status indicator, light sensor, buzzer circuit or basic alarm.
Useful classroom products include:
- The 830-point solderless breadboard provides a reusable platform for building and testing circuits.
- The 65-piece flexible breadboard jumper wire pack helps students create organised connections between components.
- The 10-piece alligator clip lead set is useful for demonstrations and temporary connections.
- The 850-piece carbon film resistor pack provides a broad selection of commonly used resistor values.
Term 3 project: Classroom status indicator
Ask students to design a visual indicator showing three classroom conditions, such as:
- available
- working
- assistance required
Students begin by drawing a circuit diagram and selecting suitable LED colours and resistors. They then build the design on a breadboard, test each operating mode and explain how current moves through the circuit.
Extension students can connect the indicator to a programmable board and control it using buttons, sensors or timed code.
2. Combine coding and electronics with Arduino
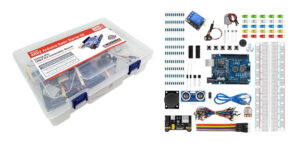
Arduino projects help students see how computer code interacts with physical components.
Instead of producing an output only on a computer screen, students can program lights, buzzers, motors, sensors and displays. This makes concepts such as variables, conditional statements and loops more tangible.
Schools starting an Arduino program can explore complete Arduino bundles and starter kits containing boards, components and guided activities.
Suitable Term 3 products include:
- The official Arduino Starter Kit includes an Arduino UNO, project book and more than 200 components.
- The ARD2 Arduino-Compatible Starter Kit provides an UNO R3-compatible board and instructions for 16 projects.
- The ARD2 Expanded Arduino Kit supports 24 coding, electronics and sensor activities.
- The 37-in-1 Arduino sensor kit allows students to experiment with a wide range of physical inputs and outputs.
Term 3 project: Responsive classroom monitor
Students can create a device that monitors a classroom condition such as light, sound, temperature, movement or distance.
A structured project could require students to:
- read a sensor value
- display or record the result
- establish a programmed threshold
- activate an LED or buzzer
- test the system under different conditions
- refine the circuit and code
- document the final design
This project combines circuit construction, data interpretation and programming within one assessable activity.
3. Create interactive designs with the BBC micro
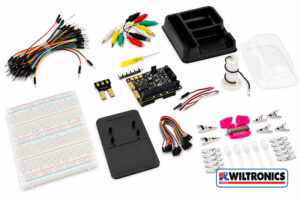
The BBC micro offers an approachable entry point into physical computing.
Its onboard LED display, buttons and sensors allow students to begin coding without first assembling a complex circuit. External components can then be added as their confidence grows.
Suitable Term 3 micro products include:
- The Kitronik Smart Greenhouse Kit supports projects involving environmental sensing and automated watering.
- The Kitronik micro Prototyping System connects a micro to a breadboard for solder-free experiments.
- The Kitronik Digital Logic Pack introduces logic gates, truth tables and digital systems.
- The Kitronik micro E-Textiles Kit combines coding, LEDs, conductive thread and creative textile design.
Term 3 project: Design technology for a real user
Give students a design brief based on a practical user need rather than a fixed assembly process.
Possible projects include:
- a wearable safety light
- a visual classroom timer
- an automatic plant-watering system
- a noise-level indicator
- an interactive name badge
- a reaction-time game
Students identify the intended user, develop an initial prototype, collect feedback and improve the design.
This approach adds design thinking, communication and evaluation to the coding activity.
Planning a classroom order? Contact the Wiltronics team to discuss project requirements, classroom quantities and suitable STEM equipment.
4. Develop assembly and soldering skills
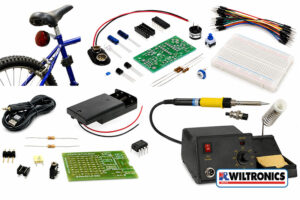
For suitable year levels and supervised technology classes, Term 3 provides enough time to complete a structured electronic assembly project.
The Tekky STEM kit range includes practical electronic projects designed to help students identify components, follow diagrams and assemble working devices.
Teachers can support these activities with appropriate soldering irons and equipment.
Potential project products include:
- The Tekky Tail Light Flasher Education Pack provides a practical lighting project with educational instructions.
- The Tekky Light Alarm Kit introduces students to light-sensitive electronic systems.
- The PICAXE 08M2 Starter Pack combines electronic assembly with a programmable microcontroller.
- The 48W temperature-controlled soldering iron kit provides adjustable temperature control for supervised electronics work.
Term 3 project: Assemble, inspect and explain
Break the project into clear assessment stages:
- identify the components
- interpret the circuit diagram
- plan component placement
- prepare the workspace
- assemble and solder the circuit
- inspect each connection
- test the completed device
- identify and correct faults
- demonstrate its operation
- complete a project reflection
School safety procedures, age suitability, ventilation, personal protective equipment and trained supervision should always guide classroom soldering activities.
Differentiating STEM activities across the classroom
The same equipment can often support several levels of difficulty.
Foundation level
Provide students with a circuit diagram, guided construction instructions or partially completed code.
Students focus on recognising components, making correct connections and explaining how the finished project operates.
Intermediate level
Provide the required project outcome but allow students to develop the circuit or program.
Students compare different approaches, identify faults and justify their design decisions.
Extension level
Ask students to add a new feature, improve reliability or adapt the project for a different user.
Extension activities could include:
- adding another sensor
- redesigning the enclosure
- optimising the program
- reducing energy consumption
- recording data from repeated tests
- improving accessibility
This structure allows the class to work within one project area while giving students different levels of independence and challenge.
Term 3 classroom preparation checklist
Before introducing a longer STEM project, review everything required to complete the activity—not only the main kit.
Check that the classroom has:
- working electrical meters and testers
- labelled parts storage boxes and cabinets
- spare electronic components and consumables
- printed or digital student instructions
- relevant STEM project books
- replacement electronic components and supplies
- a process for checking and returning equipment after each lesson
Teachers should also build and test the project before presenting it to the class. A trial build can reveal missing components, unclear instructions and unrealistic lesson timing.
Frequently asked questions
What is a good STEM project for the beginning of Term 3?
A short breadboard circuit, introductory coding activity or simple robot challenge can help students return to practical learning without requiring a lengthy setup.
The first activity should produce a visible result while still giving students opportunities to test and troubleshoot.
Which coding platform is best for beginners?
The BBC micro provides an approachable starting point because it includes buttons, sensors and an LED display on the board.
Arduino is a strong progression for students who are ready to connect and control a broader range of external electronic components.
Can students share STEM kits?
Many electronics and robotics activities work well in pairs or small teams.
Before ordering, consider how responsibilities will be divided and whether every student will have enough time to build, code, test and document the project.
How can schools reduce lost components?
Assign a numbered kit to each group, use labelled compartment boxes and include a component checklist.
Allow time at the end of every practical lesson for students to dismantle projects, count parts and return equipment correctly.
Are soldering projects suitable for every class?
Suitability depends on student age, experience, school procedures, facilities and available supervision.
Breadboard, micro and pre-assembled robotics activities provide strong alternatives when soldering is not appropriate.
Start planning your Term 3 STEM projects
Effective Term 3 STEM projects give students something meaningful to create while developing technical knowledge, teamwork and problem-solving skills.
Whether students are building their first LED circuit, programming an environmental monitor, creating a wearable device or preparing for a robotics challenge, the right equipment can make practical lessons easier to organise and more rewarding.
For more classroom ideas, explore:
- Robotics: The Next Generation of Makers and Innovators
- Raspberry Pi 400 and Essential Accessories
- Laboratory Consumables, Hardware and Equipment
Explore the full range of STEM, coding, electronics and robotics products and prepare your classroom for a practical and engaging Term 3.
© Electrotech Brands Pty Ltd 2026
Write a Comment
You must be logged in to post a comment.