

How to Measure Liquid Volume: A Practical Classroom Guide
October 13, 2026
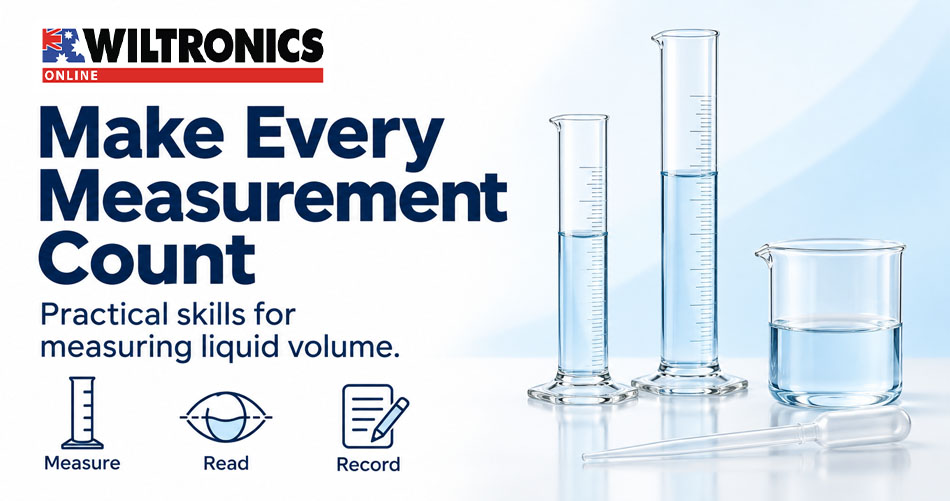
How to Measure Liquid Volume: A Practical Classroom Guide
Two groups can follow the same experiment and get different results because they measured their liquids differently. A reading taken from above, a misunderstood scale or an unsuitable vessel can introduce differences before the investigation begins.
For Term 4 science, a short lesson on measuring liquid volume helps students develop habits they can use in later chemistry and biology practicals.
At Wiltronics, our measuring cylinders and pipettes support activities ranging from introductory scale reading to more demanding liquid transfers. This guide combines equipment choices with two water-based classroom activities, practical checks and common questions.
Start with the scale, read at eye level and record what the instrument can reasonably show.
Choose the instrument for the task
A vessel’s capacity tells you how much it holds. It does not, by itself, tell you how accurately it measures.
| Task | Useful starting point | What to check |
|---|---|---|
| Hold or mix water for an activity | Beaker | Capacity and material suitability |
| Measure a variable volume | Graduated measuring cylinder | Range, scale divisions and stated tolerance |
| Add water gradually near a target mark | Transfer pipette | Controlled dispensing |
| Transfer a specified fixed volume | Volumetric pipette with a suitable filler | Nominal volume, tolerance and delivery instructions |
Beaker markings generally provide approximate volumes. Use a suitable measuring instrument when volume affects the result. A transfer pipette used for adding drops should not automatically be treated as a calibrated measuring pipette.
For material selection, see our Glass vs Plastic Labware guide.
Read the scale before adding water
Ask students to identify the unit, maximum marked volume and value of each interval.
For example, if five equal intervals separate the 10mL and 20mL marks:
(20 − 10) ÷ 5 = 2mL per interval.
Count the spaces between marks, not just the lines.
This is a worked example, not a specification for every cylinder. Check the actual instrument students will use.
Choose a capacity that accommodates the target volume while providing useful scale divisions. A large cylinder may hold the required amount but make a small volume difficult to read.
Distinguish the smallest scale division from the manufacturer’s tolerance. Closely spaced marks do not, on their own, establish accuracy.
How to read the meniscus
The meniscus is the curved liquid surface. For water forming a concave meniscus, read the bottom of the curve.
- Place the cylinder upright on a level surface.
- Allow the liquid to settle.
- Bring your eyes level with the meniscus.
- Read the scale at the lowest part of the curve.
- Record the volume and unit.
Looking from above or below creates parallax: the liquid level appears to align with a different point on the scale.
Use this method for the water activities below. Other liquids and instruments may require different reading procedures.
Activity 1: Does viewing angle change the reading?
Learning goal: recognise parallax without changing the liquid volume.
Prepare a cylinder of water with the meniscus between labelled marks. Keep the cylinder in one position.
Ask students to take readings from slightly above, at eye level and slightly below the meniscus.
| Viewing position | Volume reading (mL) |
|---|---|
| Above the meniscus | |
| Level with the meniscus | |
| Below the meniscus |
Students should compare readings before discussing the correct technique.
Ask:
- Did the amount of water change?
- What changed between observations?
- Which reading follows the agreed method?
If the differences are too small to distinguish on your equipment, discuss that limitation instead of expecting a particular numerical result.
Teaching prompt: “Could two people report different volumes without either adding or removing water?”
Activity 2: Practise filling and reading a target volume
Learning goal: practise controlled filling and compare readings of the same liquid level.
Give each group water, a suitable cylinder, a transfer pipette and a collection beaker. Select a target suited to the cylinder’s capacity and graduations.
One student fills to just below the target, then adds water gradually. A second student checks the reading at eye level without first being told the first student’s result.
Record both readings before discussing any difference. Empty the cylinder and repeat using the same preparation method, swapping roles.
| Attempt | Target (mL) | First reading (mL) | Independent reading (mL) | Technique note |
|---|---|---|---|---|
| 1 | ||||
| 2 | ||||
| 3 |
This activity checks handling and agreement between readers. It does not independently verify accuracy: two students may share the same error. Evaluating accuracy requires an appropriate reference or validated method.
Explain accuracy and precision separately
For classroom discussion:
- Accuracy concerns how close a measurement is to the true or accepted reference value.
- Precision concerns how closely repeated measurements agree under stated conditions.
Ask students to identify one change that could improve their technique, such as using a more suitable scale or keeping their viewing position consistent.
When recording results, follow the class convention for estimating between graduations. Avoid adding decimal places that the scale and observation cannot support.
Wiltronics equipment for liquid-volume lessons
Polypropylene measuring cylinders
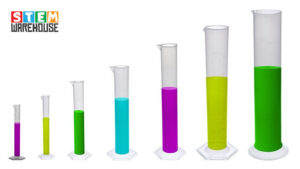
Our Graduated Measuring Cylinders—Polypropylene have pouring spouts and bases, with listed capacities from 10mL to 1000mL.
Compare the available sizes against the volumes students will measure. Confirm graduations and tolerance where these are important to the investigation.
Borosilicate glass measuring cylinders
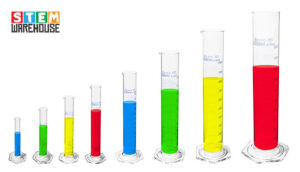
Our Graduated Measuring Cylinders—Borosilicate Glass with Hex Base are available in listed capacities from 10mL to 2000mL.
They provide another material option for laboratory work. Select equipment according to the activity and handling requirements; glass construction alone is not an accuracy specification.
Disposable transfer pipettes
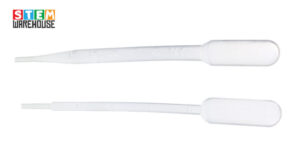
Our Disposable Pipettes—Pack of 100 provide options for liquid transfer.
For the target-volume activity, use a suitable pipette to approach the mark gradually. Read the final volume from the cylinder rather than assuming a fixed volume per drop.
Class A volumetric pipettes
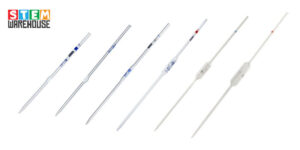
For an extension involving a fixed-volume transfer, our Class A Volumetric Pipettes have a single graduation mark and listed tolerances.
The 10mL option has a listed tolerance of ±0.020mL. This is an instrument specification, not a guarantee of the total uncertainty in a student’s result.
Use a suitable pipette filler, never mouth pipetting, and follow the instrument’s delivery instructions. Do not assume every pipette should have its remaining liquid blown out.
Common mistakes and practical checks
| Problem | What to check |
|---|---|
| Different students read the same cylinder differently | Eye position and the chosen point on the meniscus |
| Results are consistently too high or low | Scale interpretation and repeated technique errors |
| Students overshoot the target | Add smaller amounts as the liquid approaches the mark |
| A small volume is difficult to judge | Cylinder capacity and graduation spacing |
| Too many decimal places appear in results | Whether the scale supports the recorded detail |
| Less liquid arrives in the receiving vessel than expected | Spills, retained liquid and whether the instrument is calibrated to contain or deliver |
Follow your school’s procedures for spills and glass handling. The introductory activities use water; other liquids require their own suitability checks.
Frequently asked questions
Is a measuring cylinder more suitable than a beaker for measuring volume?
Usually. Beaker markings are generally approximate; select a cylinder with specifications suited to the task.
Should students always read the bottom of the meniscus?
Yes for water with a concave meniscus. Follow the specified method for other liquids and instruments.
Does a smaller graduation mean a smaller tolerance?
No. Scale divisions describe the markings; tolerance describes the permitted volume error under specified conditions.
Do matching readings prove that the volume is correct?
No. Agreement alone does not establish accuracy.
Can students measure volume by counting drops?
Only with an established drop volume for the liquid and dispensing conditions. Otherwise, read the volume with a suitable measuring instrument.
Build better measurement habits with Wiltronics
Explore our measuring cylinders and pipettes to prepare your next practical lesson.
Help students explain their equipment choice, demonstrate a consistent reading method and recognise the limits of their results. Those habits remain useful long after the first water-measuring activity.
© Electrotech Brands Pty Ltd 2026
Write a Comment
You must be logged in to post a comment.