

Classroom Density Experiments: How to Measure Mass and Volume
October 19, 2026
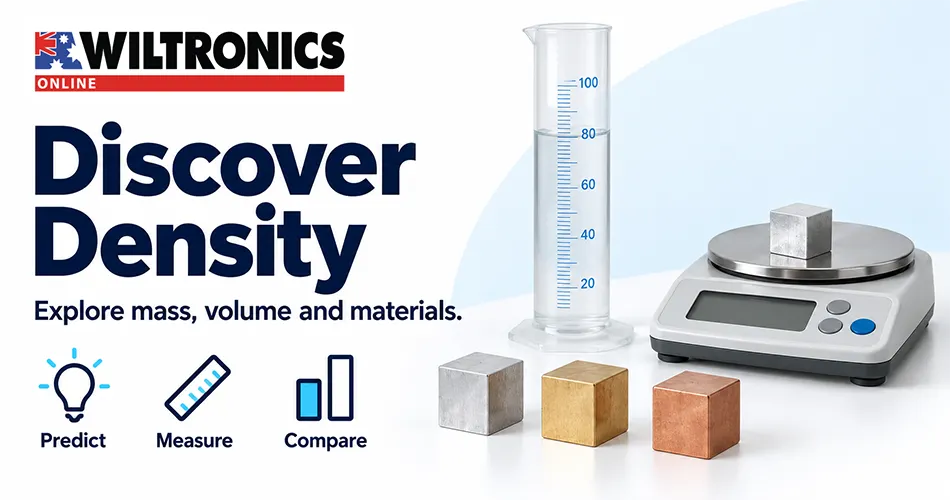
Classroom Density Experiments: How to Measure Mass and Volume
Two objects can look the same size yet have noticeably different masses. That simple comparison is a useful starting point for teaching density: students can make a prediction, collect measurements and explain what the numbers show.
These classroom density experiments connect balance readings, volume measurements and calculations. Start with regular solids, then introduce water displacement for an irregular object. Along the way, students learn why a convincing answer needs suitable equipment, consistent units and more than a calculator display.
Quick answer: Calculate density by dividing mass by volume. Measure a regular block’s volume from its dimensions, or use water displacement for a suitable irregular solid that sinks and can be fully submerged.
What is density?
Density describes mass per unit volume:
Density = mass ÷ volume
With mass in grams and volume in cubic centimetres, the answer is in g/cm³. For displacement measurements, 1mL equals 1cm³, so a measured volume in millilitres can be used directly with mass in grams to calculate g/mL.
Mass alone does not tell you which material is denser. Comparing equal volumes makes the relationship easier to see: the sample with the greater mass has the greater density.
For a rectangular block, volume equals length × width × height. For a cube, this becomes edge length × edge length × edge length.
Choose the method before setting up
| Sample | Volume method | Main check |
|---|---|---|
| Regular solid cube or block | Measure dimensions and calculate | Use the same length unit throughout |
| Irregular solid that sinks | Measure the rise in water level | Fully submerge it without bubbles or spilled water |
| Floating, absorbent or soluble sample | Use a different or adapted method | The simple displacement procedure below is unsuitable |
Prepare a dry weighing area and a separate water station. Each group needs a suitable balance, selected solid samples, a ruler or callipers, a measuring cylinder, water, a tray and a recording sheet.
Choose samples approved for the class. Check that they fit freely inside the cylinder and can be lowered and retrieved without forcing them through the opening. Use a thin thread where appropriate, and keep heavy objects under control rather than dropping them into the vessel.
Experiment 1: Compare equal-sized cubes
Learning goal: explain why equal volumes can have different masses.
Choose two or three solid cubes of different materials with matching nominal dimensions. Aluminium, brass and copper provide a useful starting selection.
- Label the samples A, B and C. Ask students to predict their mass order before weighing.
- Measure each sample’s length, width and height. Record the units.
- Convert dimensions to centimetres if calculating volume in cm³.
- Place the balance on a stable, level surface and follow its setup instructions. Check that it reads zero; tare any weighing container before adding a sample.
- Weigh each dry cube separately and record its mass in grams.
- Calculate volume and divide mass by volume.
- Compare the calculated densities with the original predictions.
| Sample | Length (cm) | Width (cm) | Height (cm) | Volume (cm³) | Mass (g) | Density (g/cm³) |
|---|---|---|---|---|---|---|
| A | ||||||
| B | ||||||
| C |
Worked example
For an illustrative cube measuring 2.00cm along each edge:
- Volume = 2.00 × 2.00 × 2.00 = 8.00cm³.
- If its measured mass is 21.6g, density = 21.6 ÷ 8.00 = 2.70g/cm³.
These are example values, not guaranteed readings for a purchased cube. Students should calculate from their own measurements and report precision appropriate to their instruments.
Discussion prompt: “If we cut a uniform cube into two pieces, what happens to each piece’s mass, volume and density?”
The mass and volume of each piece decrease, but the material’s density remains approximately the same under the same conditions.
Experiment 2: Measure an irregular solid by water displacement
Learning goal: find a volume that cannot easily be calculated from external dimensions.
Use a teacher-selected, non-porous solid that sinks, does not dissolve or react with water, and fits comfortably inside the measuring cylinder. Weigh it while dry before beginning the water measurements.
- Add enough water to cover the sample when immersed, leaving room below the cylinder’s maximum scale mark.
- Stand the cylinder on a level surface. Read the initial volume at eye level, using the bottom of a concave water meniscus.
- Lower the sample gently into the water. Fully submerge it and release any trapped air bubbles.
- Record the final water level using the same reading method.
- Subtract the initial reading from the final reading to obtain the displaced volume.
- Divide the sample’s dry mass by that volume.
Example: A 54.0g sample raises the water level from 40.0mL to 60.0mL.
Displaced volume = 60.0 − 40.0 = 20.0mL.
Density = 54.0 ÷ 20.0 = 2.70g/mL, equivalent to 2.70g/cm³.
Use these decimal places only if the cylinder’s scale supports them. A coarse scale cannot justify a finely reported result.
For a repeat trial, re-establish and record the starting water level. Do not assume it remains unchanged after removing a wet sample.
Equipment to support your density lesson
Individual density cubes
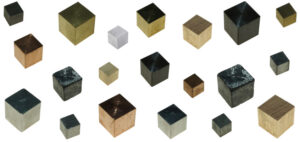
Wiltronics’ Density Cube range includes aluminium, brass, copper and iron options, alongside other variants. Individual selection lets you assemble a comparison set around your lesson requirements.
Choose matching edge sizes for the first investigation. Confirm the selected dimensions before ordering, then have students measure the actual samples during the activity. Edge length is a length measurement; it should not be confused with the cube’s volume.
OHAUS Scout SKX622 Educational Balance
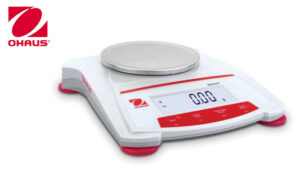
The OHAUS Scout SKX622 has a capacity of 620g and readability of 0.01g.
It offers a way to measure classroom samples in grams, but a balance you already own may also suit the task. Check the total load, including any container, and choose readability appropriate to the samples. Readability describes the display increment; it is not a guarantee of overall measurement accuracy.
Students can carry out these investigations using ordinary mass readings and their own calculations. A dedicated density accessory is not required for the methods described here.
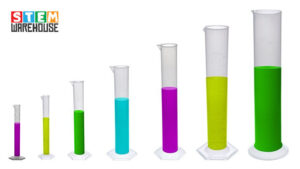
Polypropylene graduated measuring cylinders
Our Polypropylene Graduated Measuring Cylinders range includes capacities from 10mL to 1000mL.
Choose a cylinder that accommodates the sample, starting water and displacement while providing useful scale divisions. A smaller cylinder can improve the readability of a small change in volume, but only if the object fits freely and there is enough capacity.
For a refresher on scale divisions and reading technique, see How to Measure Liquid Volume: A Practical Classroom Guide.
Common errors and what to check
| Result or problem | Practical check |
|---|---|
| Calculated density is unexpectedly high | Was the displaced volume underestimated, or a container included in the mass? |
| Calculated density is unexpectedly low | Were air bubbles attached to the sample, increasing the apparent volume? |
| Cube volume looks incorrect | Were millimetres mixed with centimetres? Were all three dimensions multiplied? |
| Results vary between groups | Compare zeroing, scale reading, sample dimensions and water loss |
| Density has many decimal places | Round to reflect the quality of the original measurements |
A cylinder measures displacement using two readings. When the rise in water level is very small, reading uncertainty becomes a large proportion of the calculated volume. Repeating the calculation will not fix an unsuitable measuring setup.
Encourage students to retain unexpected measurements, explain possible causes and improve their method. Changing results to match a reference value removes the evidence they need to evaluate the investigation.
Quick assessment
Ask students to answer three questions:
- Two solid samples each occupy 10cm³. One has a mass of 25g and the other 80g. Calculate both densities and identify the denser sample.
- Why must the initial water reading be subtracted from the final reading?
- Explain one change that would improve your own investigation, using a specific observation from the activity.
Teacher check: The densities are 2.5g/cm³ and 8.0g/cm³. The difference between water readings gives the sample’s displaced volume. An improvement should address an observed measurement limitation.
Frequently asked questions
Can density identify an unknown material?
It can help narrow the possibilities, but is not proof on its own. Different materials can have similar densities, and measurement uncertainty, hollow spaces or mixed composition can affect the result.
Can I use a beaker for water displacement?
A beaker can show that water rises, but its approximate markings are generally less useful for calculating a small displaced volume. Choose a graduated cylinder with suitable divisions for quantitative work.
What if the object floats?
A floating object is only partly submerged, so the rise in water level does not give its full volume. Use a sinking sample for this introductory activity; a sinker method requires an additional correction.
Prepare your next density investigation with Wiltronics
Start with density cubes, then match your balance and measuring cylinder to the samples students will investigate.
Ask students to predict first, measure carefully and explain their answer with evidence. The most useful outcome is understanding how mass and volume work together to describe a material.
© Electrotech Brands Pty Ltd 2026
Write a Comment
You must be logged in to post a comment.