

Choosing a Project Enclosure for Your Electronics Build
September 18, 2026
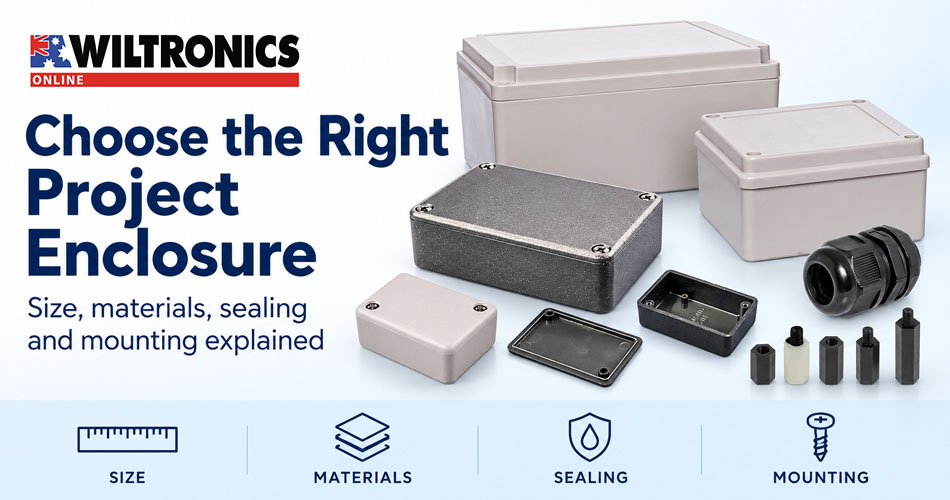
Choosing a Project Enclosure for Your Electronics Build
A circuit that works on the bench still needs a box that fits with the plugs connected and the lid closed. Choosing a project enclosure early helps prevent cramped wiring, inaccessible controls and unnecessary drilling.
The right project enclosure gives the board secure mounting, leaves room for connectors and makes controls easy to reach. The wrong one can mean a lid that will not close, strained wiring or another round of drilling.
Whether your next weekend build is a desktop controller, a sensor interface or a small test instrument, choose the box around the complete assembly. This guide focuses on low-voltage electronics projects and the practical checks that help you get the fit right.
Quick answer: Measure the complete assembly, check the enclosure’s usable internal dimensions, then select the material and environmental protection for its intended location. Include PCB supports, connected plugs, cable entries and service access in the layout before ordering.
1. Start with where and how the project will be used
Before comparing sizes, write down three things: the operating environment, how the enclosure will be mounted and how often you will open it.
| Application | What to prioritise |
|---|---|
| Desktop controller | Accessible connectors, readable controls and a stable base |
| Handheld device | Comfortable dimensions, button placement and battery access |
| Workshop instrument | Secure mounting, protected cable entries and room for servicing |
| Outdoor sensor | Documented environmental suitability, sealed entries and a plan for temperature and moisture |
An indoor prototype and an outdoor installation may use the same circuit board but need different housings. Likewise, an enclosure opened every week for battery changes needs a more convenient layout than one assembled once and left in place.
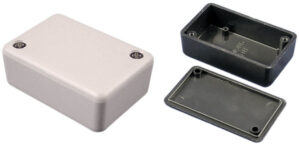
Use these requirements to narrow the Wiltronics enclosure range before choosing a particular size.
2. Size the enclosure from the inside out
The board’s length and width are only the starting point. Make a layout with the actual connectors, plugs, battery holder, switches and mounting hardware you intend to use.
Allow space for:
- PCB supports and any components or solder joints underneath the board.
- The tallest components above it.
- Connector bodies, retaining nuts and terminals behind the front panel.
- Plug insertion, cable bends and room to unplug connections.
- Lid ribs, corner screw posts and gasket channels.
- Access for assembly tools and future repairs.
A listed enclosure size is not a promise of usable internal space. Check the dimensional drawing, including the narrowest sections and mounting features. A board may fit between the walls but collide with a corner post.
A worked height example
Suppose your board is 80 × 50mm and your proposed assembly uses:
| Item | Illustrative height |
|---|---|
| Standoff above the internal mounting surface | 10mm |
| PCB thickness | 1.6mm |
| Tallest component above the PCB | 18mm |
| Chosen mechanical allowance above that component | 5mm |
| Total space required above the mounting surface | 34.6mm |
An enclosure advertised as 35mm high should not be assumed to fit: its overall height also includes the base and lid, and internal features may intrude into the available space.
These numbers illustrate the method, not a universal clearance rule. The 5mm allowance is not a thermal or electrical safety specification. Your components, mounting arrangement and operating conditions determine the actual requirements.
Make a similar plan for length and width, with the plugs connected. This often reveals that connector clearance determines the box size more than the PCB does.
3. ABS or aluminium: which enclosure suits your project?
ABS plastic and diecast aluminium are useful starting points, but material alone does not establish an enclosure’s environmental rating.
| Consideration | ABS plastic | Diecast aluminium |
|---|---|---|
| Mounting | Some boxes include moulded PCB supports | Check drawings for mounting space and fixing arrangements |
| Conductivity | The plastic body is electrically insulating | Keep PCB conductors and terminals clear of the conductive case |
| Shielding | Do not assume ordinary ABS provides electromagnetic shielding | A suitable metal enclosure can assist shielding; openings and connections still matter |
| Sealing | Choose a specifically rated version when required | Choose a specifically rated version when required |
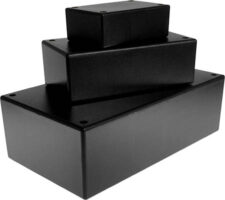
For example, Wiltronics’ ABS Jiffy Boxes include supports for horizontal or vertical PCB installation. That can simplify a straightforward project if the board suits the support arrangement.
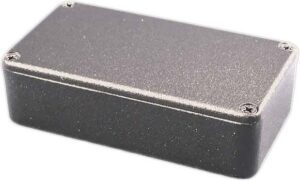
The Hammond watertight diecast range uses lap-joint construction, which Wiltronics identifies as helping EMI/RFI shielding. Do not treat the metal case alone as a complete interference solution. If the project uses an internal wireless antenna, include enclosure effects in your testing before finalising the layout.
4. Check IP ratings and sealing for the exact enclosure
Similar-looking boxes can have different sealing arrangements. Hammond’s 1590 range is a useful example: the manufacturer identifies standard versions as designed for IP54 and watertight versions as designed for IP65. The watertight version includes a gasket supplied separately for installation. Hammond 1590 specifications.
For your build, check the exact model, gasket installation instructions and closure requirements. Then review every opening you plan to add.
A sealed lid does not seal an unprotected switch cut-out. Likewise, an IP68 cable gland does not make the complete enclosure IP68. Cable entries, panel components and mounting penetrations must all suit the intended protection level; the finished assembly needs assessment on its own merits.
For outdoor use, also ask for information about sunlight exposure, operating temperature and condensation. Do not use an IP marking as the sole answer to those questions.
5. Compare Wiltronics project boxes and enclosures
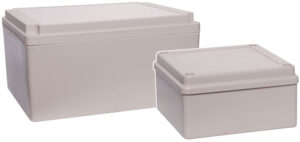
These ranges provide three practical starting points. The dimensions below are the sizes listed by Wiltronics; verify the internal drawings before committing to a layout.
| Product range | Listed features | What to check for your build |
|---|---|---|
| Jiffy Box ABS — Plastic Lid | ABS construction, horizontal and vertical PCB supports; UB1, UB2, UB3 and UB5 sizes | Board compatibility with supports, connector clearance and environmental requirements |
| IP65 Sealed ABS Enclosure | Neoprene lid gasket and six moulded PCB mounting points; listed sizes 105 × 105 × 57mm and 250 × 200 × 130mm | Mounting-point positions, usable depth and sealing of added openings |
| Hammond Diecast Aluminium Watertight Enclosure | Included silicone gasket and listed IP65 rating; sizes 120 × 94 × 53mm and 188 × 120 × 78mm | Gasket fitting, PCB mounting and clearances from the metal case |
To narrow your shortlist, look at the Jiffy Box range for a straightforward indoor build with compatible PCB supports. Compare the sealed ABS range when your design calls for a gasketed plastic box, or the Hammond watertight range when you need a metal housing with a documented sealing arrangement. Confirm the exact model against your layout and environment before buying.
A little planned working space is more useful than a box that closes only when the wiring is compressed. Allow for any upgrades you already expect to make, such as a larger battery holder or another connector.
6. Plan cable entries and board supports together
Cable entry hardware occupies space inside the box as well as outside it. Leave room for the locknut, the cable’s bend and the tools needed to tighten the fitting.
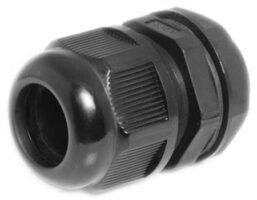
Wiltronics’ IP68 cable glands include a locknut and panel sealing washer. Select by the cable’s outside diameter, not the size of its internal conductors.
| Gland | Listed panel hole | Listed cable diameter range |
|---|---|---|
| GN12 / GR4312 | 12mm | 4.5–7mm |
| GN16 / GR4316 | 16mm | 5–10mm |
| GN20 / GR4320 | 20mm | 9–14mm |
Check panel thickness, thread engagement and installation requirements as well. A plain grommet can protect a cable from an edge, but should not be assumed to provide a gland’s sealing or retention.
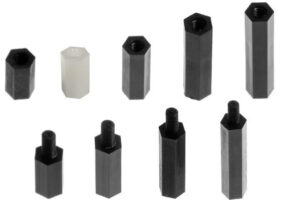
For PCB mounting, M3 nylon spacers are available with female/female or male/female ends and listed lengths from 10 to 25mm. Match the spacer and screw arrangement to the board holes and enclosure mounts. Longer supports increase the overall height requirement, so include them in the first layout.
7. Check the finished assembly before calling it complete
A project that works with the lid off still needs testing in its assembled form. Run it under the intended workload and check temperatures against the component manufacturers’ limits.
If it gets too warm, revisit the thermal design. Extra holes change the enclosure’s protection, while a metal case only helps transfer component heat effectively when the design provides an appropriate thermal path.
Also check everyday tasks: can you read the display, insert the largest plug, reach the programming port and replace the battery without dismantling the whole device?
Before-drilling checklist
- Confirm the exact enclosure variant and dimensional drawing.
- Lay out the PCB, supports, controls and connected plugs.
- Check both sides of every proposed hole for obstructions.
- Leave room for nuts, washers, tools and cable bends.
- Keep cut-outs clear of lid posts and sealing surfaces.
- Confirm access for programming, adjustment and maintenance.
- Remove electronics before machining; deburr holes and clear all debris before reassembly.
- Trial-fit everything and check the lid closes without trapping wiring.
Give your next project a practical home
Choose the enclosure while the layout is still flexible. Planning the board mounting, cable entries and access together can save rework and make the finished project easier to use.
Explore project enclosures and cases at Wiltronics, then match your chosen box with suitable cable glands and mounting spacers.
© Electrotech Brands Pty Ltd 2026
Write a Comment
You must be logged in to post a comment.