How to Solder Electronics Properly (Beginner to Advanced Guide)
March 17, 2026
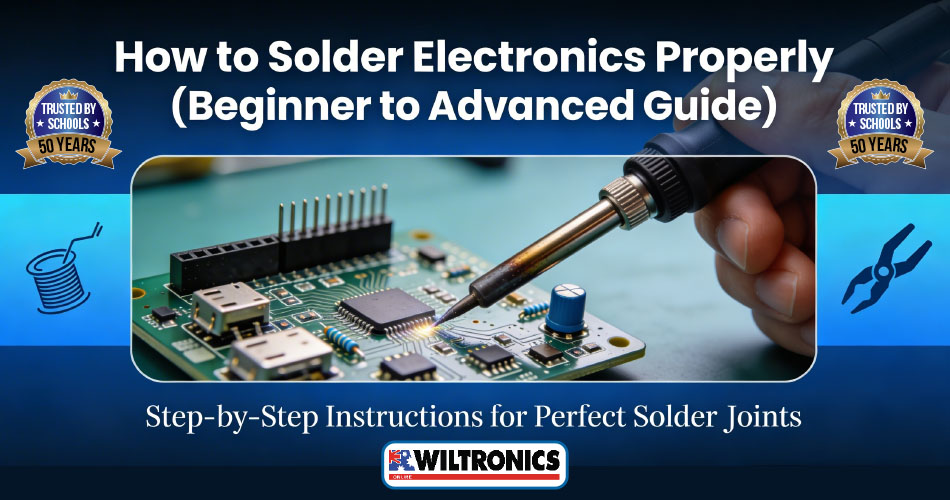
How to Solder Electronics Properly (Beginner to Advanced Guide)
Soldering is one of the most important practical skills in electronics. Whether assembling a circuit board, repairing equipment, or building a STEM project, a well-made solder joint ensures reliable electrical connections and long-lasting circuits.
While soldering may seem simple, achieving strong, clean joints requires the right technique, tools, and preparation.
This guide explains the fundamentals of how to solder electronics properly, along with the tools used by electronics students, technicians, and engineers.
View the comprehensive range of Soldering supplies from Wiltronics
Essential Soldering Tools
Before starting, make sure you have the correct equipment. Reliable tools make soldering easier and help produce consistent results.
Key tools include:
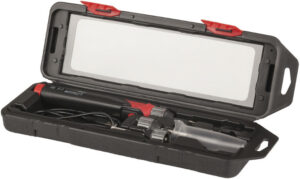
Soldering Irons
Used to heat the metal surfaces so solder can melt and bond components together.
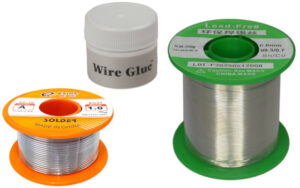
Solder Wire
A metal alloy used to create the electrical connection between components.
Soldering Iron Stands
Provides a safe place to rest the hot iron when not in use.

Tip Cleaners & Sponges
Keeps the soldering tip clean for better heat transfer.

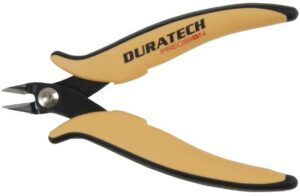
Side Cutters
Used to trim component leads after soldering.
Step 1: Prepare the Components
Before soldering, ensure that the components and PCB pads are clean and positioned correctly.
Good preparation includes:
• Placing components through the PCB holes
• Bending leads slightly to hold them in place
• Ensuring surfaces are free from dust or oxidation
Clean surfaces allow solder to flow evenly and form a strong bond.
Step 2: Heat the Joint (Not the Solder)
A common beginner mistake is melting solder directly with the iron. Instead, the correct method is to heat the joint first.
Touch the soldering iron tip so it contacts both:
• The component lead
• The PCB pad
This allows both surfaces to reach the proper soldering temperature.
Step 3: Apply the Solder
Once the joint is hot, gently feed solder wire into the connection.
The solder should melt smoothly and flow around the joint, forming a small cone-shaped connection.
Remove the solder wire first, then remove the iron.
Allow the joint to cool naturally.
Step 4: Inspect the Joint
A good solder joint should look:
✔ Smooth
✔ Shiny
✔ Cone-shaped
✔ Fully covering the pad
A poor solder joint may appear:
• Dull or grainy
• Blob-shaped
• Cracked
• Incomplete around the lead
These are known as cold joints and may cause unreliable electrical connections.
Step 5: Trim Component Leads
Once the solder has cooled, use side cutters to trim excess component leads.
Cut close to the solder joint but avoid damaging the connection.
This keeps the circuit board neat and prevents accidental short circuits.
Common Soldering Mistakes to Avoid
Many beginners experience similar issues when learning soldering.
Avoid these common mistakes:
Using too much solder
Large blobs can create shorts between pads.
Not heating the joint properly
Solder must flow over heated metal surfaces.
Dirty soldering tip
A contaminated tip reduces heat transfer.
Moving the joint while cooling
Movement can create weak connections.
Practicing good technique quickly improves results.
Safety Tips for Soldering
Soldering involves high temperatures, so safety is important.
Always remember:
• Use a soldering iron stand
• Work in a well-ventilated area
• Keep the tip clean and tinned
• Never touch the hot iron tip
• Allow equipment to cool before storage
Following these guidelines ensures safe and effective soldering.
Why Soldering Is Important for STEM Learning
Soldering introduces students to essential engineering skills including:
• Electronics assembly
• Circuit troubleshooting
• Hardware prototyping
• Engineering design thinking
• Hands-on problem solving
For STEM classrooms and maker programs, soldering helps bridge the gap between theory and real-world electronics.
Explore Soldering Equipment at Wiltronics
Wiltronics offers a wide range of soldering irons, solder wire, and accessories suitable for electronics workshops and STEM classrooms.
👉 View the comprehensive range of Soldering supplies from Wiltronics
Whether you’re building your first circuit or equipping a classroom electronics lab, the right soldering tools make every project easier and more reliable.
Final Thought
Learning to solder properly is a foundational skill in electronics. With the correct tools and good technique, students and makers can build circuits that perform reliably and stand the test of time.
© Electrotech Brands Pty Ltd 2026
Write a Comment
You must be logged in to post a comment.